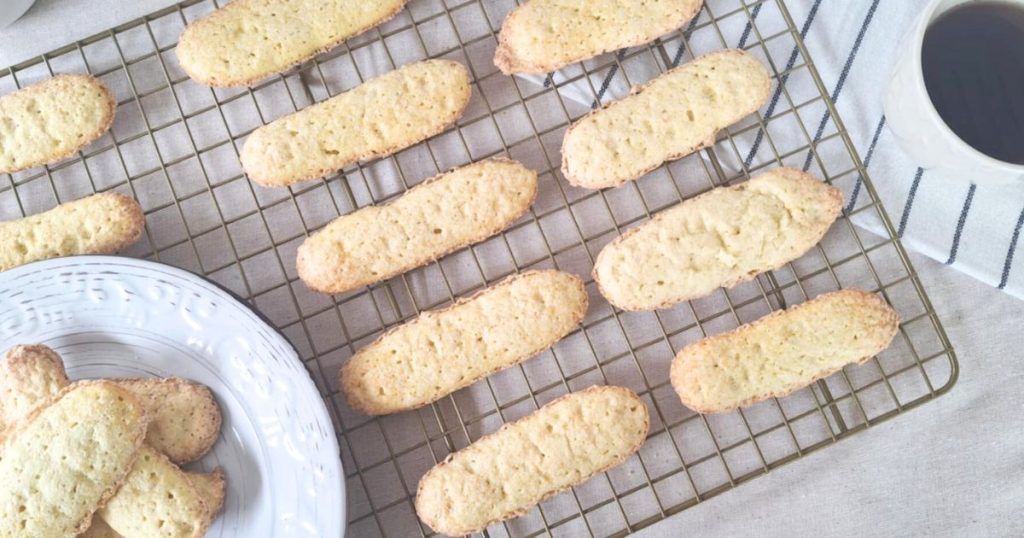
Learn how to make these easy, grain-free ladyfingers using coconut flour. Light, airy, spongy, and slightly crispy on the outside they’re perfect for dipping into your morning coffee or layering into a homemade, grain-free tiramisu.
Disclosure: as an Amazon Associate, I earn a small commission from qualifying purchases at no extra cost to you. Read my full Disclosure and Policy here.
All the uses for Ladyfingers (aka Savoiardi)
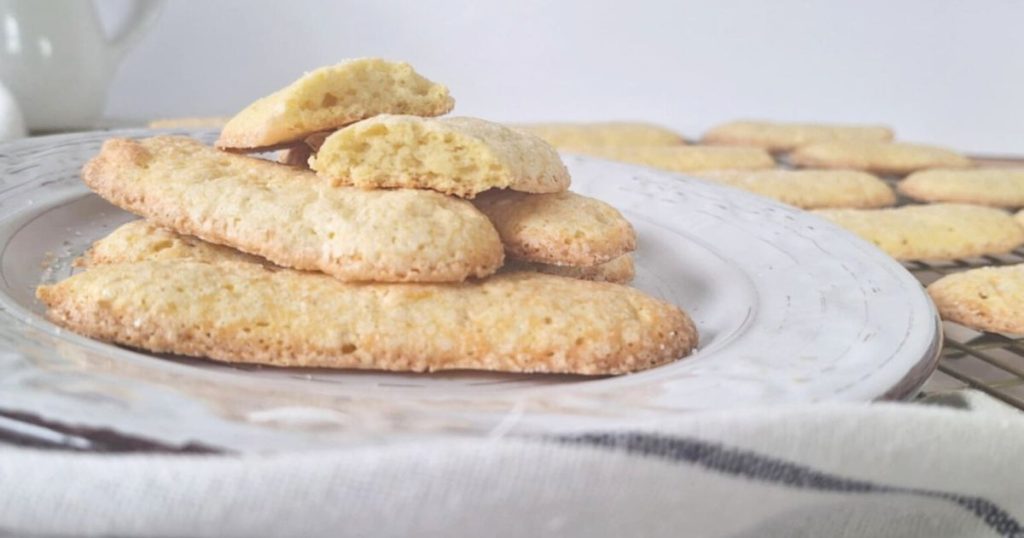
Coming from Italy, ladyfingers (also known as Savoiardi) bring back childhood memories. These light, spongy cookies are a staple in many traditional Italian desserts, but they’re also wonderful on their own.
I remember as a kid, my mom would buy ladyfingers to make desserts, and I always managed to sneak a couple to eat on their own. They were just too good to resist!
Ladyfingers are delicious in all sorts of ways: layered in creamy desserts, dipped into coffee or milk, or simply enjoyed plain as a light, crisp treat. Thanks to their airy texture, they soak up liquid beautifully while still holding their shape, making them the perfect base for all kinds of sweet creations.
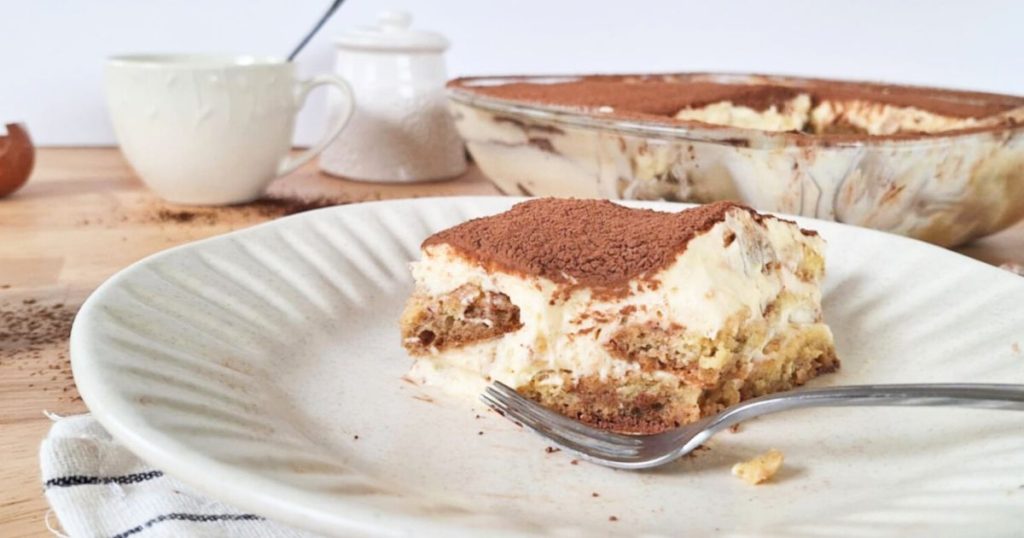
Of course, ladyfingers are essential for making the king of all Italian desserts: tiramisu. But they’re just as wonderful in other sweet creations! You can use them to make elegant charlottes, layered trifles, or even a shortcut base for no-bake cheesecakes. Their crisp, sponge-like texture makes them incredibly versatile, and always delicious!
Find my delicious grain-free Italian tiramisu recipe here!
Grain-free Ladyfingers with coconut flour
Since we mostly follow a grain-free diet, I love recreating my favorite desserts using wholesome, homemade ingredients. I often avoid commercial gluten-free or grain-free products because I’m not always comfortable with the ingredients. And truthfully, I just enjoy making things from scratch!
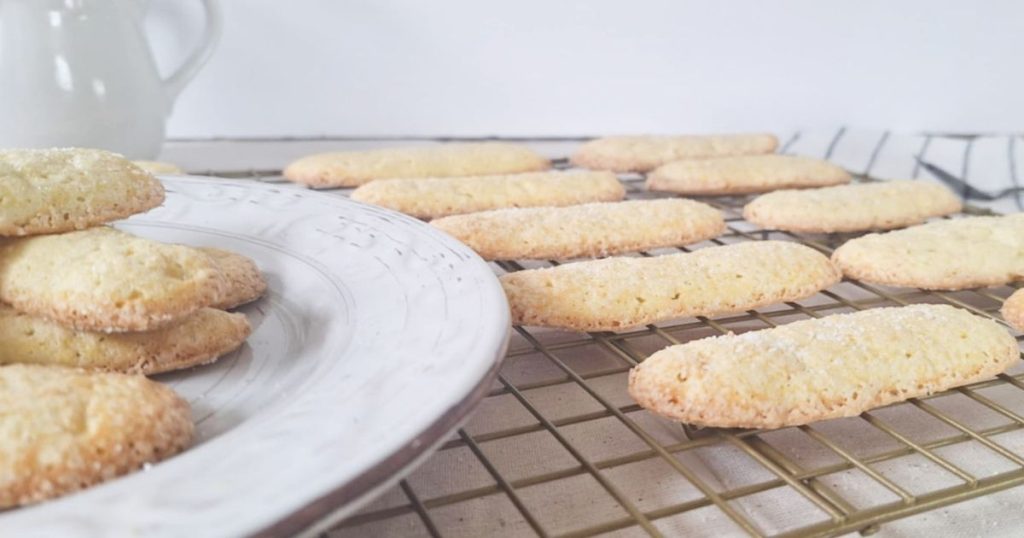
One of my go-to flours for grain-free baking is coconut flour. Today, we’re making light and fluffy homemade ladyfingers using coconut flour only! This recipe was a bit of a challenge to get just right. It took several rounds of testing to nail the texture, but the end result is worth it.
So trust me when I say: this recipe is well-tested and fully homemade. The ladyfingers are simple to make, and they come with a good nutritional profile: low in carbs, high in fiber and protein, and perfect for grain-free desserts like tiramisu.
Baking with coconut flour
Coconut flour is naturally gluten-free, low in carbohydrates, and high in fiber, making it one of my favorite flours to bake with. It’s also a great source of potassium, manganese, and medium-chain triglycerides (MCTs), nutrients that support overall health and digestion.
Another bonus? Coconut flour is often more affordable than many other grain-free or nut-based flours.
I personally love using Bob’s Red Mill Organic Coconut Flour for all my grain-free recipes.
If you’re new to baking with coconut flour, just know it behaves differently than regular wheat flour, or even other gluten-free flours. The main thing to remember is: coconut flour is extremely absorbent. You only need a small amount, and recipes usually call for more eggs and extra liquid to balance the texture.
The secrets to perfect grain-free ladyfingers
This recipe is simple, with just a few wholesome ingredients, and it comes together quickly. That said, there are a few key techniques that make all the difference when it comes to achieving that perfect light, crisp texture.
Use room-temperature eggs
Cold eggs won’t whip as well. Let them sit out for about 30 minutes before starting, or place them in a bowl with hot (not boiling) water for 10 minutes before using them
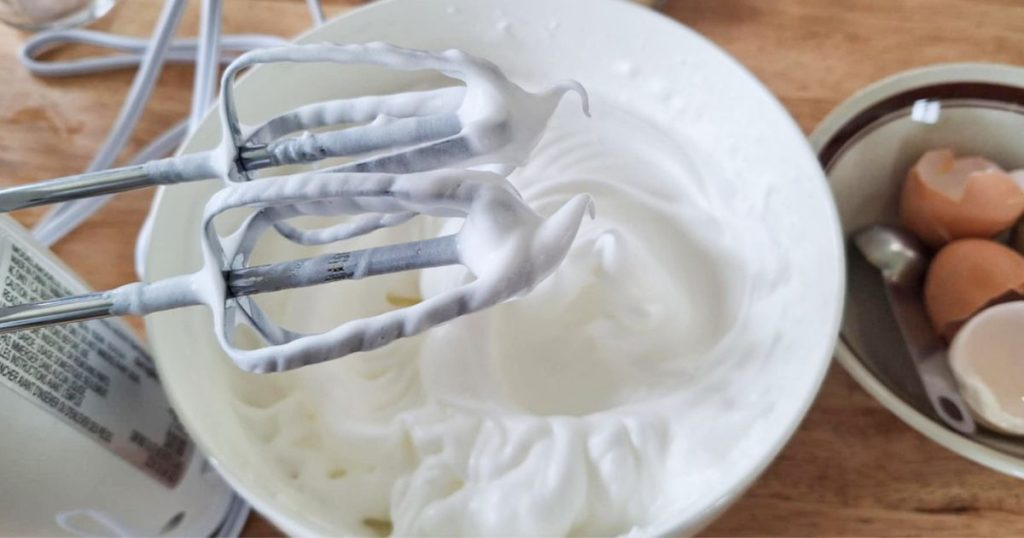
Beat the egg whites to soft peaks
This is one of the most important steps! Soft peaks mean the egg whites should be silky, airy, and glossy. When you lift your beaters, the peaks should hold their shape but gently fold over at the tips. Stop beating as soon as you reach this stage. Overwhipping can lead to dry, stiff whites that won’t fold in well.
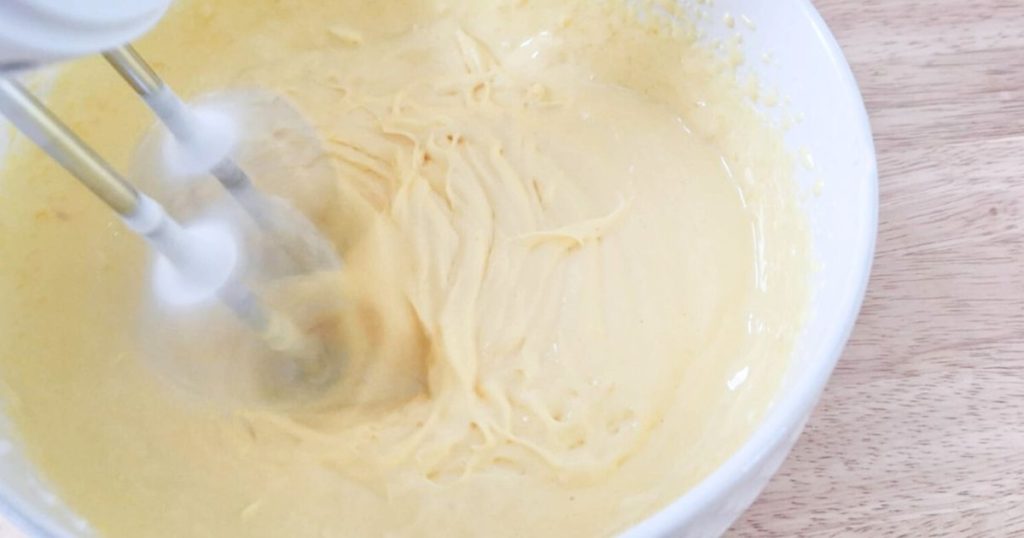
Beat the egg yolks and the sugar until they are light and creamy
Whisk the yolks with the sugar until they’re thick, pale yellow, and ribbon-like in texture. This usually takes 3–5 minutes with an electric mixer. This step gives the ladyfingers their lightness and helps create structure.
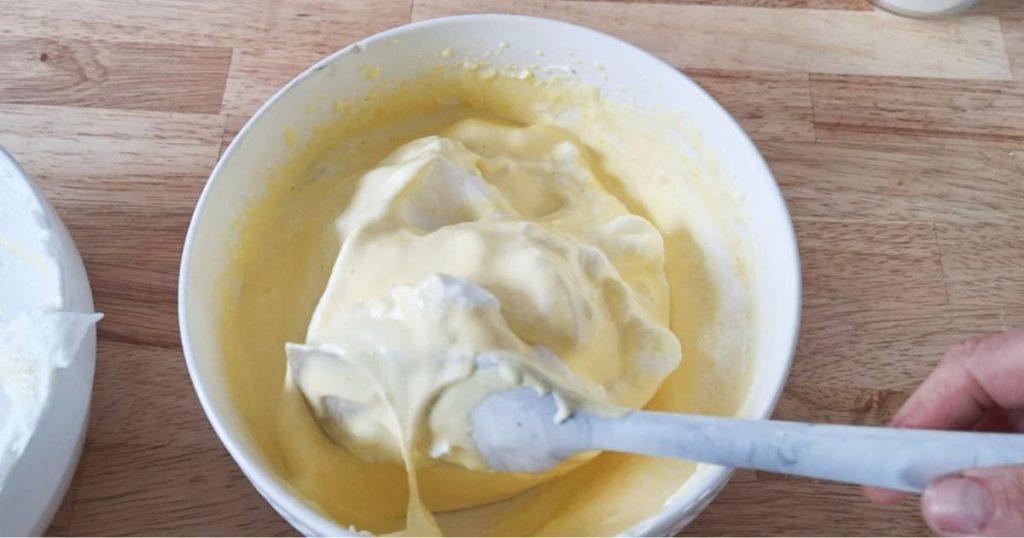
Fold carefully and gently
When it’s time to combine the whipped whites with the yolk mixture, be gentle! Use a silicone spatula and fold with slow, circular motions, from bottom to top. Try to keep as much air in the batter as possible. Overmixing will deflate the whites, and you’ll end up with a soupy mess!
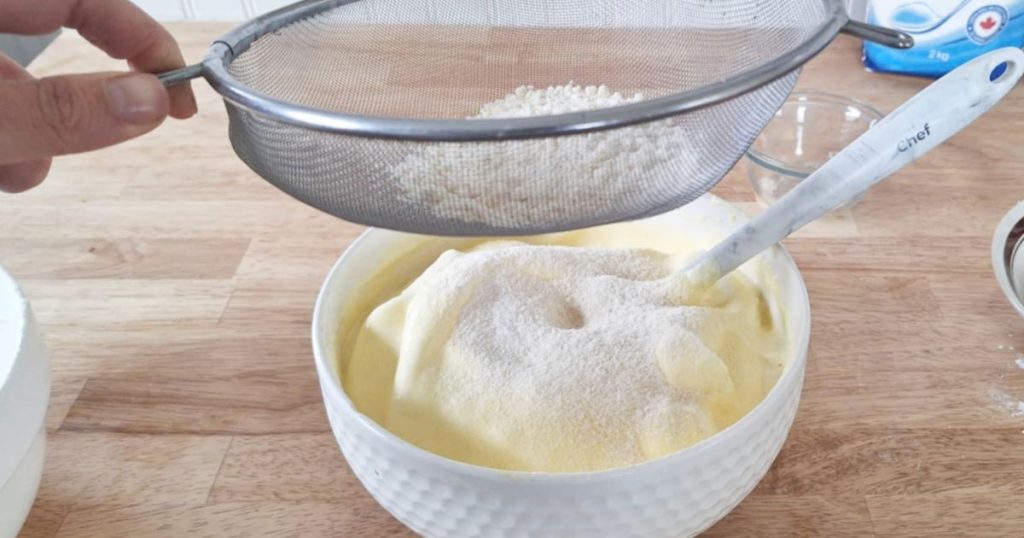
Weight the coconut flour and add carefully
For best results, weight the coconut flour on a scale. Then, sift it over the egg mixture, then fold it in just as gently as before. You want to incorporate the flour fully (no clumps!) but still keep the batter airy. Take your time, overmixing here can also deflate the batter.
Bake, then dry
Follow the baking instructions and let the ladyfingers dry in the oven at lower temperature for the perfect crisp!
Cool completely
Let the ladyfingers cool fully on a wire rack before using or storing. This helps them stay crisp and snappy, just the way they should be.
Ingredients for these grain-free ladyfingers
- 5 eggs, at room temperature
- ⅓ cup white sugar (or coconut sugar, see notes), divided in half
- ¼ cup coconut flour + 1 tbsp (40 grams)
- ½ tsp baking powder
- 1 tsp vanilla extract
- 1 pinch of sea salt
- Granulated sugar and/or powdered sugar for dusting (optional)
Notes
You can use coconut sugar in place of white granulated sugar for a healthier alternative. The ladyfingers will be darker in color and might become denser and less crisp.
How to make these grain-free ladyfingers
Step 1: Preheat oven to 355°F (180°C) and line a baking sheet with parchment paper (or use a silicone baking mat).
Step 2: In a large bowl (or stand mixer), beat the egg whites with an electric hand mixer until soft peaks form (see instructions above). Gradually add about half the sugar and continue beating until stiff peaks form. Set aside.
Step 3: In a separate bowl (or stand mixer), beat the egg yolks, remaining sugar, and vanilla with the electric hand mixer until thick, pale, and creamy (about 2–3 minutes).
Step 4: Gently fold the beaten egg whites into the yolk mixture in 2-3 parts using a silicone or wooden spatula. Use a soft folding motion being careful not to deflate the egg whites, and fold until just incorporated (don’t overmix!).
Step 5: Sift the coconut flour baking powder, and salt over the egg mixture. Fold everything together until no flour clumps remain, but make sure not to lose too much air during mixing. Let the batter sit for a couple of minutes to thicken.
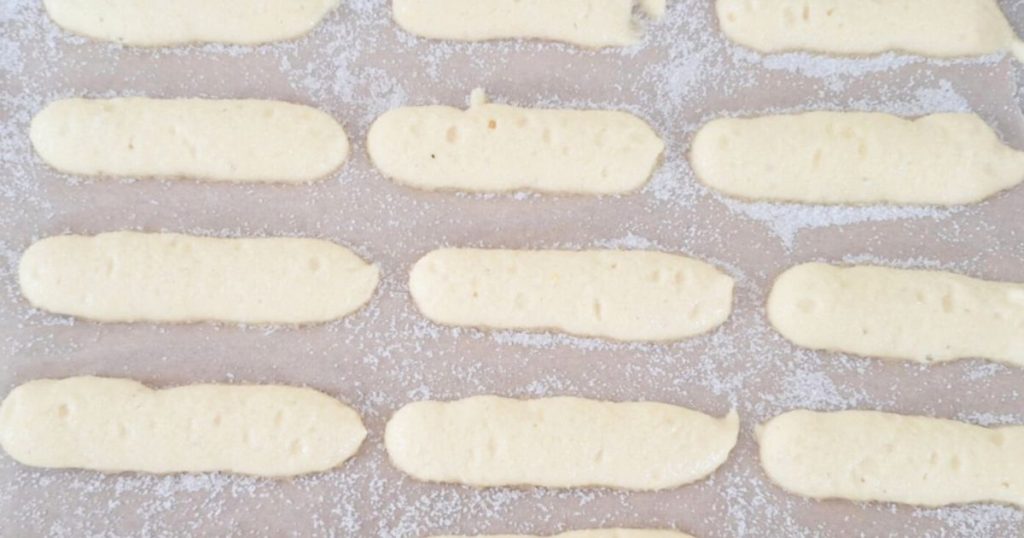
Step 6: Transfer batter to a piping bag and form ladyfinger shapes (about 3–4 inches long) on your prepared baking sheet. Note that the diameter of the nozzle will determine the thickness of your cookies, so choose appropriately depending on what size of cookies you want (~1/2 to 1 inch should be fine).
Step 7 (optional): Dust the ladyfingers with granulated sugar or a mix of powdered and granulated sugar using a sieve.
Step 8: Bake in preheated oven for about 12 minutes, then reduce the oven temperature to 230°F (110°C), letting the oven door open for about 1 minutes, and bake for another 10-15 minutes, until golden and crispy.
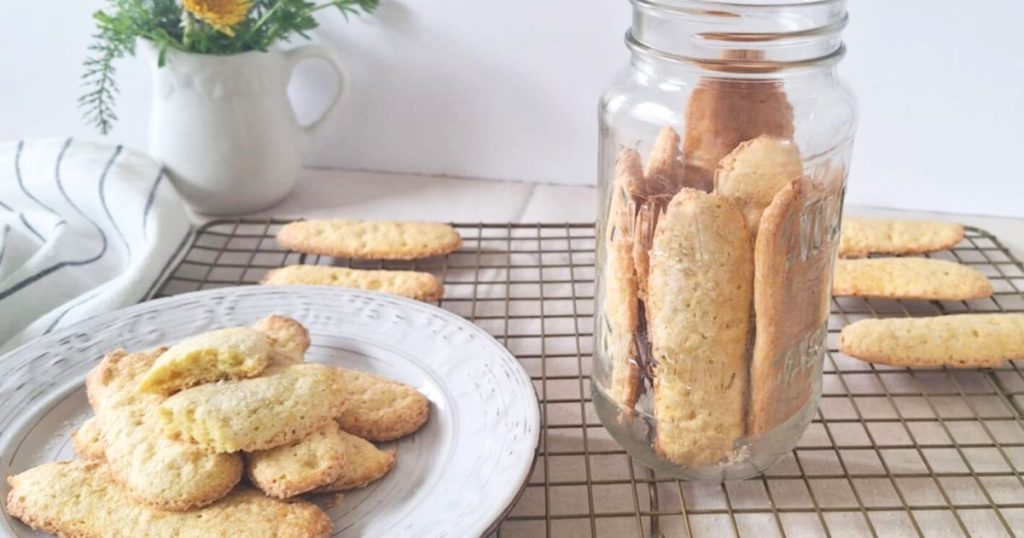
Step 9: Let the ladyfingers cool completely on a rack before using or storing. They will firm up slightly as they cool. Enjoy as is, or use in this delicious grain-free tiramisu recipe or for your favorite desserts!
If you give this recipe a try, I’d love to hear how it turned out! Drop me a comment below and, if you enjoyed it, don’t forget to leave a 5-star review to help others find it too.
More grain-free recipes with coconut flour
Baking with Coconut Flour: Tricks, Recipes, and Why I Love It
The Best Grain-Free Italian Style Tiramisu
Healthy Grain-Free Carrot Cake with Cream Cheese Frosting
The Best Healthy Grain Free Chocolate Cake
Coconut Flour Brownies (Grain-Free, Gluten-Free)
Coconut Flour Pie Crust Recipe (low-Carb, Grain-free, Gluten-free)
Coconut Flour Birthday Cake (Low-Carb, Grain-free, Gluten-free)
Cinnamon Roll Cake with Coconut Flour (Grain-free, Gluten-free)
Pumpkin Coconut Flour Cookies with Raisins (Grain-free, Gluten-free)
Coconut Flour Gingerbread Cookies (Grain-free, Gluten-free)
Fruit and Chocolate Christmas Cake with Coconut Flour (Grain-free, Gluten-free)
Pumpkin Swirled Chocolate Loaf (Grain-free, Gluten-free)
Shop my Amazon favorites
Shop all my non-toxic kitchen essentials, pantry staples, and so much more here!
Pin it for later
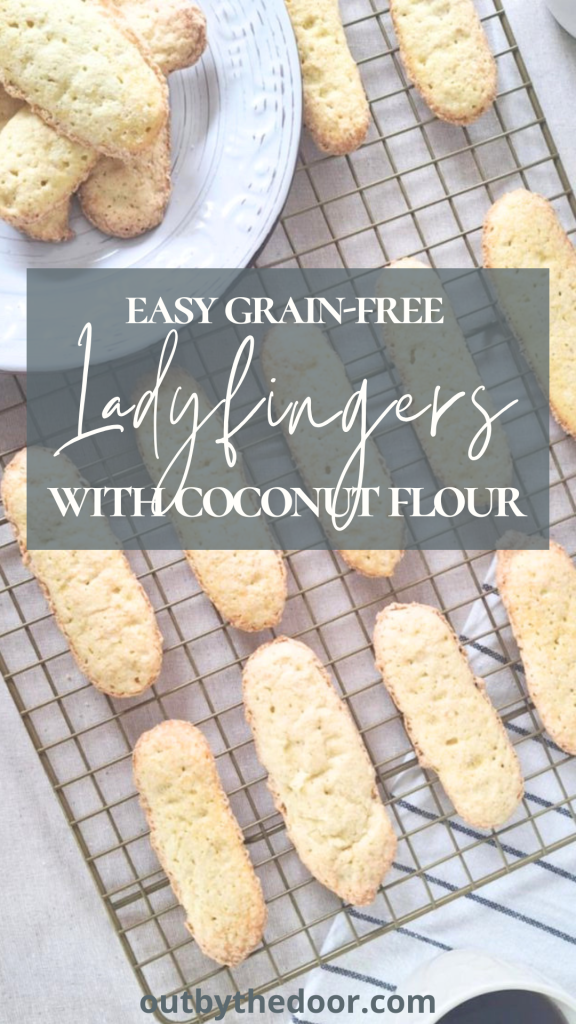
Easy Grain-Free Ladyfingers with Coconut Flour
Equipment
- Stand up mixer or electric hand mixer
- Strainer
- Piping bag
Ingredients
- 5 eggs at room temperature
- ⅓ cup white sugar or coconut sugar, see notes, divided in half
- ¼ cup coconut flour + 1 tbsp 40 grams
- ½ tsp baking powder
- 1 tsp vanilla extract
- 1 pinch of sea salt
- Granulated sugar and/or powdered sugar for dusting optional
Instructions
- Preheat oven to 355°F (180°C) and line a baking sheet with parchment paper (or use a silicone baking mat).
- In a large bowl (or stand mixer), beat the egg whites with an electric hand mixer until soft peaks form. Gradually add about half the sugar and continue beating until stiff peaks form. Set aside.
- In a separate bowl (or stand mixer), beat the egg yolks, remaining sugar, and vanilla with the electric hand mixer until thick, pale, and creamy (about 2–3 minutes).
- Gently fold the beaten egg whites into the yolk mixture in 2-3 parts using a silicone or wooden spatula. Use a soft folding motion being careful not to deflate the egg whites, and fold until just incorporated (don't overmix!).
- Sift the coconut flour baking powder, and salt over the egg mixture. Fold everything together until no flour clumps remain, but make sure not to lose too much air during mixing. Let the batter sit for a couple of minutes to thicken.
- Transfer batter to a piping bag and form ladyfinger shapes (about 3–4 inches long) on your prepared baking sheet. Note that the diameter of the nozzle will determine the thickness of your cookies, so choose appropriately depending on what size of cookies you want (~1 inch should be fine).
- Dust the ladyfingers with granulated sugar or a mix of granulated and powdered sugar using a sieve (optional).
- Bake in preheated oven for about 12 minutes, then reduce the oven temperature to 230°F (110°C) and bake for another 10-15 minutes, until golden and crispy.
- Let the ladyfingers cool completely on a rack before using or storing. They will firm up slightly as they cool.