
Learn how to make homemade Bulgarian yogurt in the Instant Pot. A delicious and healthy snack to always have on hand. Easy to make, and cheaper than store-bought, homemade yogurt is great to add beneficial probiotics to your diet.

Disclosure: as an Amazon Associate, I earn a small commission from qualifying purchases at no extra cost to you. Read my full Disclosure and Policy here.
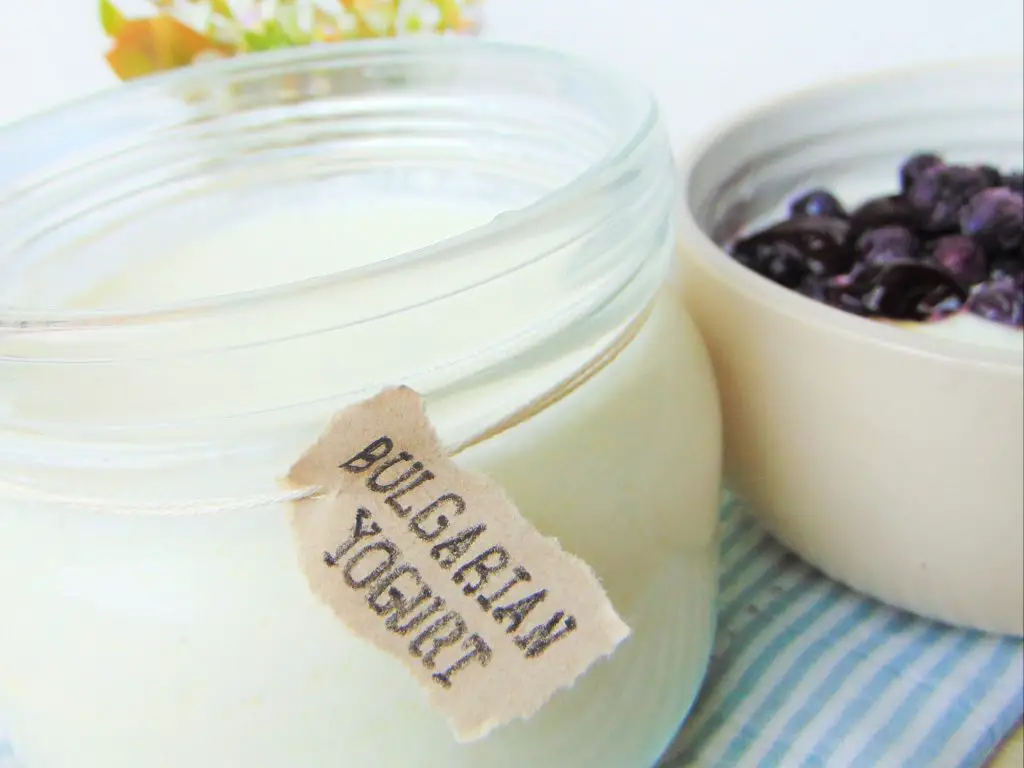
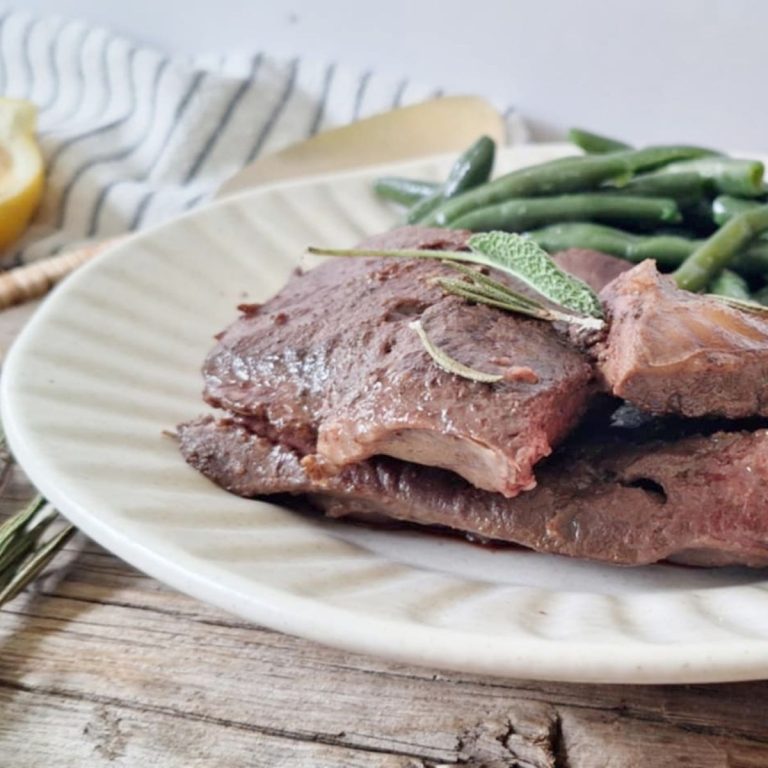
Plain, with fruit added, or drizzled with honey, yogurt is a staple in our family. We love having it for breakfast and snacks. I also add yogurt to many recipes, such as my cherry yogurt popsicles and my creamy yogurt, banana and peach popsicles. You can also use yogurt to make cakes and muffins, sauces, and even meat recipes. Not to forget, you can make delicious creamy panna cotta style jellos such as the one you can find in this post.

What is Bulgarian yogurt?
As the name implies, Bulgarian yogurt originated in Bulgaria. Its origin goes back many centuries, making Bulgarian yogurt a traditional food. Since then, it’s become one of the most popular varieties of yogurt in the world.
Bulgarian yogurt has a characteristic flavor, is mildly sour-tasting, thick and creamy. What characterizes Bulgarian yogurt and distinguishes it from other yogurts, it’s the combination of bacteria used: Lactobacillus Bulgaricus and Streptococcus Thermophilus. These two probiotic bacteria work in synergy to make a delicious and beneficial yogurt.
Bulgarian yogurt is beneficial for gut-health, and it’s believed to improve general health and prolong life.
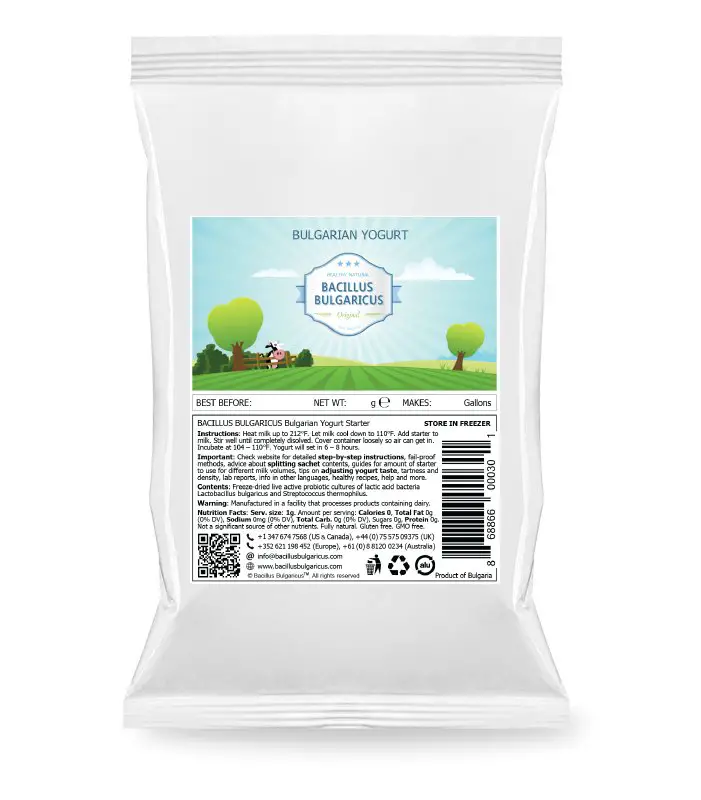
For my homemade Bulgarian yogurt I use the Bacillus bulgaricus original yogurt starter. Find more information about this starter here.
Benefits of homemade yogurt
You might wonder why going through the trouble of making homemade yogurt when I can easily buy it from the store? Well, the benefits of homemade yogurt versus store-bought are many. They include
Natural, clean ingredients without additives
Many store-bought yogurts have become indeed very much processed foods. They are often made from poor quality industrial milk, and they have a bunch of additives added, from gut-harmful carrageenan, chemical defoamers, milk proteins, colors, preservatives, artificial sweeteners and high fructose corn syrup.
By making your own yogurt, you can be sure that none of these ingredients will end up in your bowl. Chose the best quality milk you have available to make yogurt. The best option would be raw local milk from cows raised on pasture. But I understand this is not an option for everyone (including myself, unfortunately). If you buy milk from the store, chose the best quality: grass-fed, organic, possibly non-homogenized and with no additives (such as vitamins).
Completely customizable
The other great benefit of making your own yogurt is that it can be very much customizable. For example, if you are lactose intolerant or following a Specific Carbohydrate diet, you can long-ferment (24 hours) your yogurt to make it lactose-free.
Playing around with the fermentation time (which can vary from 8 to 24 hours) will also affect the texture and flavor of your yogurt, so you can experiment until you find the best results. You can also decide to add some gelatin to your yogurt to make it thicker, or to strain your yogurt to turn it into very thick and creamy Greek yogurt.
You can even use different kinds of milk such as goat milk to switch things up! We love goat milk Bulgarian yogurt, it has a tangier and stronger taste that pairs well with so many sweet and savory recipes.
Gut-healthy, live probiotics
Commercial yogurts, despite their labels, don’t always contain live probiotics. Some additives, or processing methods kill the probiotic bacteria found in the yogurt, destroying its beneficial properties. In addition, many yogurt contain “bacterial cultures”, which doesn’t give any information on the strain(s) of bacteria used to make the yogurt. For some people it’s important to chose certain strains over others for health reasons.
Affordability
If you want to buy a good quality, organic and grass-fed yogurt from the store, you’re going to pay it. By making your own you can cut the cost up to 3 times!
For example, I used to buy the Olympic Organic Yogurt from grass-fed cows, which costs CAD $13.49 per 1.75 kg at my local grocery store. Now I buy organic whole milk from grass-fed cows, which costs CAD $12.99 per 4 liters. I use the milk to make yogurt and 4 liters of milk make between 3.5 to 4 liters of yogurt (depending on whether you strain it or not).
This means I’m paying just CAD $3.40 per liter for homemade yogurt compared to CAD $7.70 per liter for store-bought yogurt of the same quality — less than half the price!
But it gets even better: I usually buy organic, grass-fed milk when it’s 50% off, which brings the cost of my homemade yogurt down to only CAD $1.70 per liter. That’s a huge saving for high-quality, nourishing food!
Now that I convinced you to start your journey into making your own yogurt, let’s see how we do it!
Making homemade yogurt in the instant pot
Making homemade yogurt in the Instant Pot in the faster and easiest way. You don’t need any other special equipment, not even a thermometer!
If you have an Instant Pot with the yogurt function, the process is very simple. The Instant Pot will automatically boil the milk to the right temperature for you. Then, when you’re yogurt is ready to be incubated, the Instant Pot will keep it at the right temperature for as long as you need it until it’s ready.
I found that the secret to creamy yogurt all the time is.. patience! Letting the milk warm up slowly (such as with the “boil” yogurt function), and then letting it cool off at room temperature before incubating gives the best results.
Do you need a thermometer to make yogurt?
The simple answer is no! The Instant Pot will automatically heat the yogurt up to the right temperature. To check that the milk is cooled off enough to add the starter, you can use your finger to make sure the milk is warm but not too hot.

How to Make Greek yogurt or even cream cheese
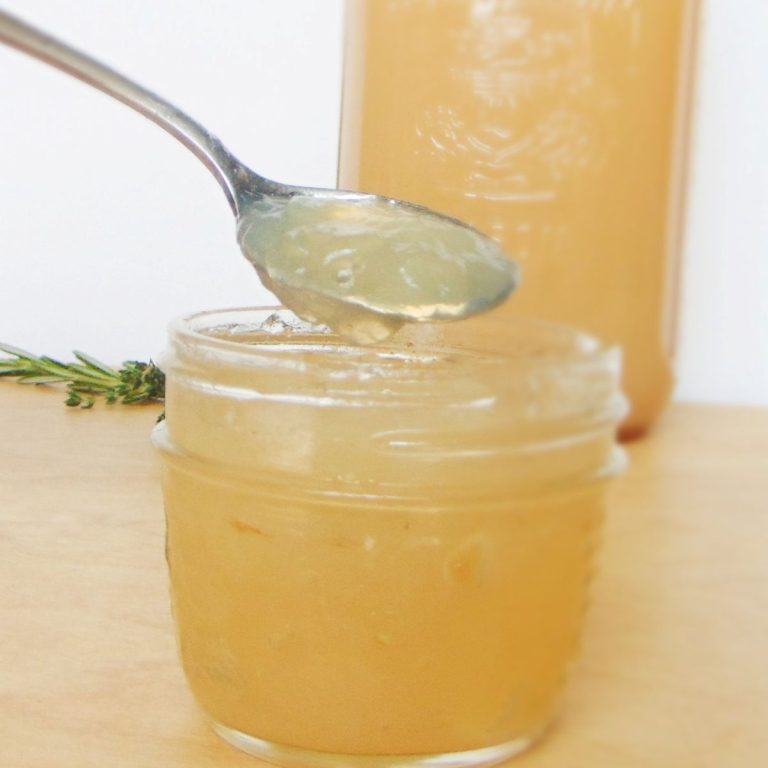
If you want to turn your homemade Bulgarian yogurt into thick and extra creamy Greek yogurt, all you have to do is strain it. Pour your freshly made yogurt into a strainer lined with a cheesecloth or (clean) tea towel or muslin cloth. Place the strainer over a bowl in the refrigerator. Let the yogurt strain until it reaches the desired thickness.
You’ll have creamy Greek yogurt in about a couple of hours, and you can even make cream cheese if you let it strain for up to 24 hours!
Instant Pot Bulgarian yogurt ingredients
- 2 liters whole milk (preferably organic and from grass-fed cows, goats or sheep)
- 1.5 grams (1/3 teaspoon) Bulgarian yogurt starter
- 1 tablespoon grass-fed gelatin (optional)
How to make Bulgarian yogurt in the Instant Pot
Step 1: Heat the milk up. Pour 2 liters of milk into the Instant Pot. Press the “yogurt” button twice until it sets on “boil”. You can put the lid on or leave it off. The pot will heat the milk to about 180°F (82°C). When it beeps, the milk is heated. You can check the temperature with a thermometer if you wish (just to be sure it’s 180°F). Turn off the Instant Pot by pressing “cancel”.
Step 2: Remove the film on top of the milk. If your milk has formed a think film on the surface during the heating process (totally normal), remove it with a spoon.
Step 3 (optional): If you want to add the gelatin powder to your batch of yogurt, this is moment to do so. While your milk heats up, add 1 tablespoon of gelatin to 1/2 cup of cold milk and let it bloom. Once the milk is hot, pour about 1 cup of hot milk into a separate container, add the bloomed gelatin, and whisk well until the gelatin powder is completely dissolved. Add the milk back into the Instant Pot and stir together.
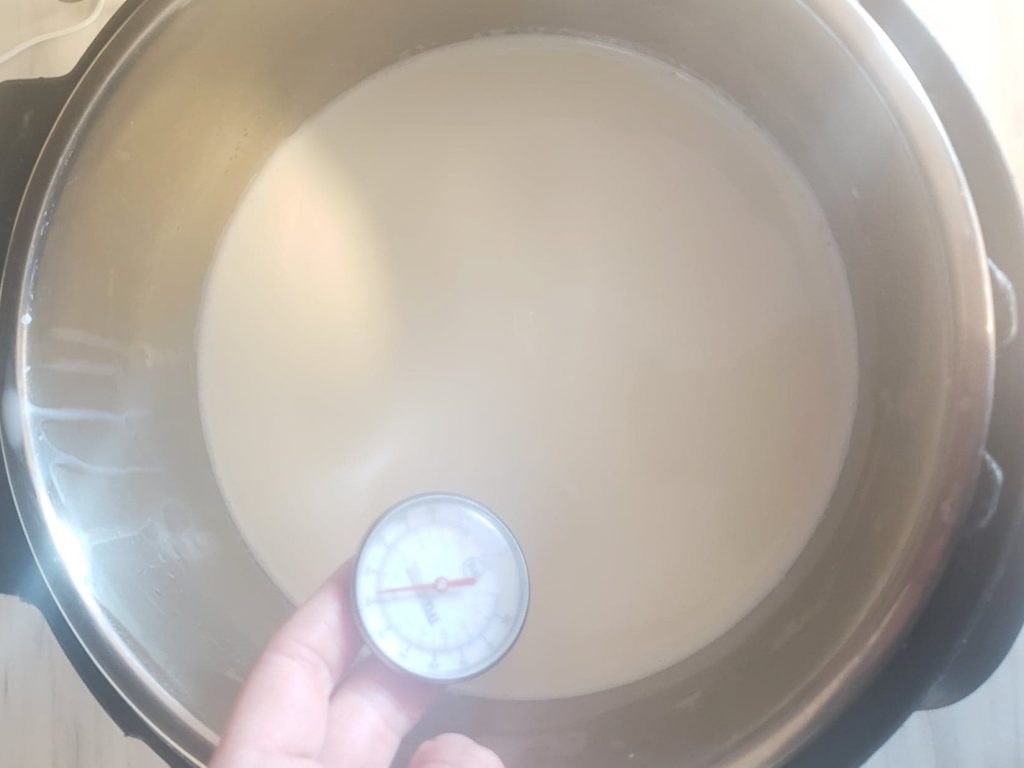
Step 4: Let the milk cool off to about 105-115 °F. You can either leave it in the Instant Pot, take it our on the counter, or even place the stainless steel pot in your sink filled with cold water to speed up the process. You can whisk periodically and check the temperature with the food thermometer. If you don’t have a thermometer, just test the milk with your (clean!) finger. The milk needs to be warm but not hot. If it’s too hot to keep your finger in for 10 seconds, let it cool off longer.
Step 5: Add the starter. Once the milk is cooled, it’s time to add the starter culture (or yogurt from previous batch). Take about 1 cup of milk out, add 1/3 teaspoon of your starter culture or 1/2 cup of yogurt, stir well until dissolved and then add back to the pot and stir together with the rest of the milk.
Step 6: Let’s incubate! Put the pot back into the Instant Pot, place the lid on, and press the “yogurt” button. Set the timer to your desired incubation time (from 8 up to 24 hours). I usually incubate my yogurt for 15 hours and I find I like it the best.
Step 7: Once the incubation time is up, remove the pot and place it in the refrigerator. Let the yogurt set for at least 2 hours (or more if you added the gelatin). After this time, you can enjoy your yogurt, or strain it over a colander lined with a butter cloth to make it thicker (Greek yogurt-like).
Notes
To reduce sticking of the milk to the stainless steel pot, cool off the pot with cold water or ice before pouring the milk in.
Before making yogurt in the Instant Pot, remove the silicone ring on the cover, as it can harbor smells.
Since the original Bulgarian yogurt starter is heirloom, you can use your ready-made yogurt to make new yogurt — for as long as you’d like! When making yogurt from your previous batch, use about 1/2 cup (100ml) of yogurt for every 2 liters of new milk. Use yogurt that is as fresh as possible. Bacteria gradually uses activity with time so the fresher your yogurt the better the results. You should get excellent results with yogurts that are less than 7 days old, and ideally try to use your yogurt as a starter by day 4.
If you try this recipe, I’d love to hear from you! Drop me a comment down below and don’t forget to leave me a 5-star review if you love this recipe. Let me know if you have any questions or need help troubleshooting.
Pin it for later

Related posts
Why your Gut Health is Important and How to Improve it Naturally
The Benefits of Eating Collagen and Gelatin
Strawberry Jello with Beef Gelatin
Cherry Yogurt Popsicles Recipe
Creamy Yogurt, Banana and Peach Popsicles Recipe
Pear and Ginger Jello with Beef Gelatin
Banana and Avocado Creamy Popsicles Recipe
Printable Recipe Card

Bulgarian yogurt in the Instant Pot
Equipment
- 1 Instant Pot with yogurt function
- 1 food thermometer optional
Ingredients
- 2 liters whole milk
- 1.5 grams (1/3 teaspoon) Bulgarian yogurt starter
- 1 tablespoon grass-fed gelatin powder optional
Instructions
- Heat the milk up. Pour 2 liters of milk into the Instant Pot. Press the "yogurt" button twice until it sets on "boil". You can put the lid on or leave it off. The pot will heat the milk to about 180°F (82°C). When it beeps, the milk is heated. You can check the temperature with a thermometer if you wish (just to be sure it's 180°F). Turn off the Instant Pot by pressing "cancel".
- Remove the film on top of the milk. If your milk has formed a think film on the surface during the heating process (totally normal), remove it with a spoon.
- Optional: if you want to add the gelatin powder to your batch of yogurt, this is moment to do so. While your milk heats up, add 1 tablespoon of gelatin to 1/2 cup of cold milk and let it bloom. Once the milk is hot, pour about 1 cup of hot milk into a separate container, add the bloomed gelatin, and whisk well until the gelatin powder is completely dissolved. Add the milk back into the Instant Pot and stir together.
- Let the milk cool off to about 105-115 °F. You can either leave it in the Instant Pot, take it our on the counter, or even place the stainless steel pot in your sink filled with cold water to speed up the process. You can whisk periodically and check the temperature with the food thermometer. If you don't have a thermometer, just test the milk with your (clean!) finger. The milk needs to be warm but not hot. If it's too hot to keep your finger in for 10 seconds, let it cool off longer.
- Add the starter. Once the milk is cooled, it's time to add the starter culture (or yogurt from previous batch). Take about 1 cup of milk out, add 1/3 teaspoon of your starter culture or 1/2 cup of yogurt, stir well until dissolved and then add back to the pot and stir together with the rest of the milk.
- Let's incubate! Put the pot back into the Instant Pot, place the lid on, and press the "yogurt" button. Set the timer to your desired incubation time (from 8 up to 24 hours). I usually incubate my yogurt for 15 hours and I find I like it the best.
- Once the incubation time is up, remove the pot and place it in the refrigerator. Let the yogurt set for at least 2 hours (or more if you added the gelatin). After this time, you can enjoy your yogurt, or strain it over a colander lined with a butter cloth to make it thicker (Greek yogurt-like).


I love Bulgarian yogurt and am trying to fine-tune my recipe. Do you use the low or medium yogurt setting on your instant pot to incubate?
Hi Ani, thanks for reaching out! The optimal incubation temperature for Bulgarian yogurt is around 110°F (43°C), which is the default or “normal” Instant Pot yogurt setting on most models. Hope this helps!